
Start With The Job The Sink Must Do
Before you choose a sink unit, work out what it will handle each day. A sink for rinsing veg in Benoni is not the same as a unit for greasy pot wash in a takeaway kitchen or a prep area that must support stainless worktops and heavy chopping boards. The right size depends on what goes in the bowl, how often staff use it and whether the unit must fit under a window, against a wall or into a tight servery line.
For light prep and hand wash points, a smaller bowl may be enough. For dish wash and high turnover food work, bigger bowls and a deeper splashback are usually worth the extra space. If you are on the East Rand and water pressure is inconsistent, think about how quickly the bowl empties and whether the drain position suits the plumbing already in place.
- Count the people using the sink during the busiest hour.
- List the items washed there, such as trays, pots, veg crates or utensils.
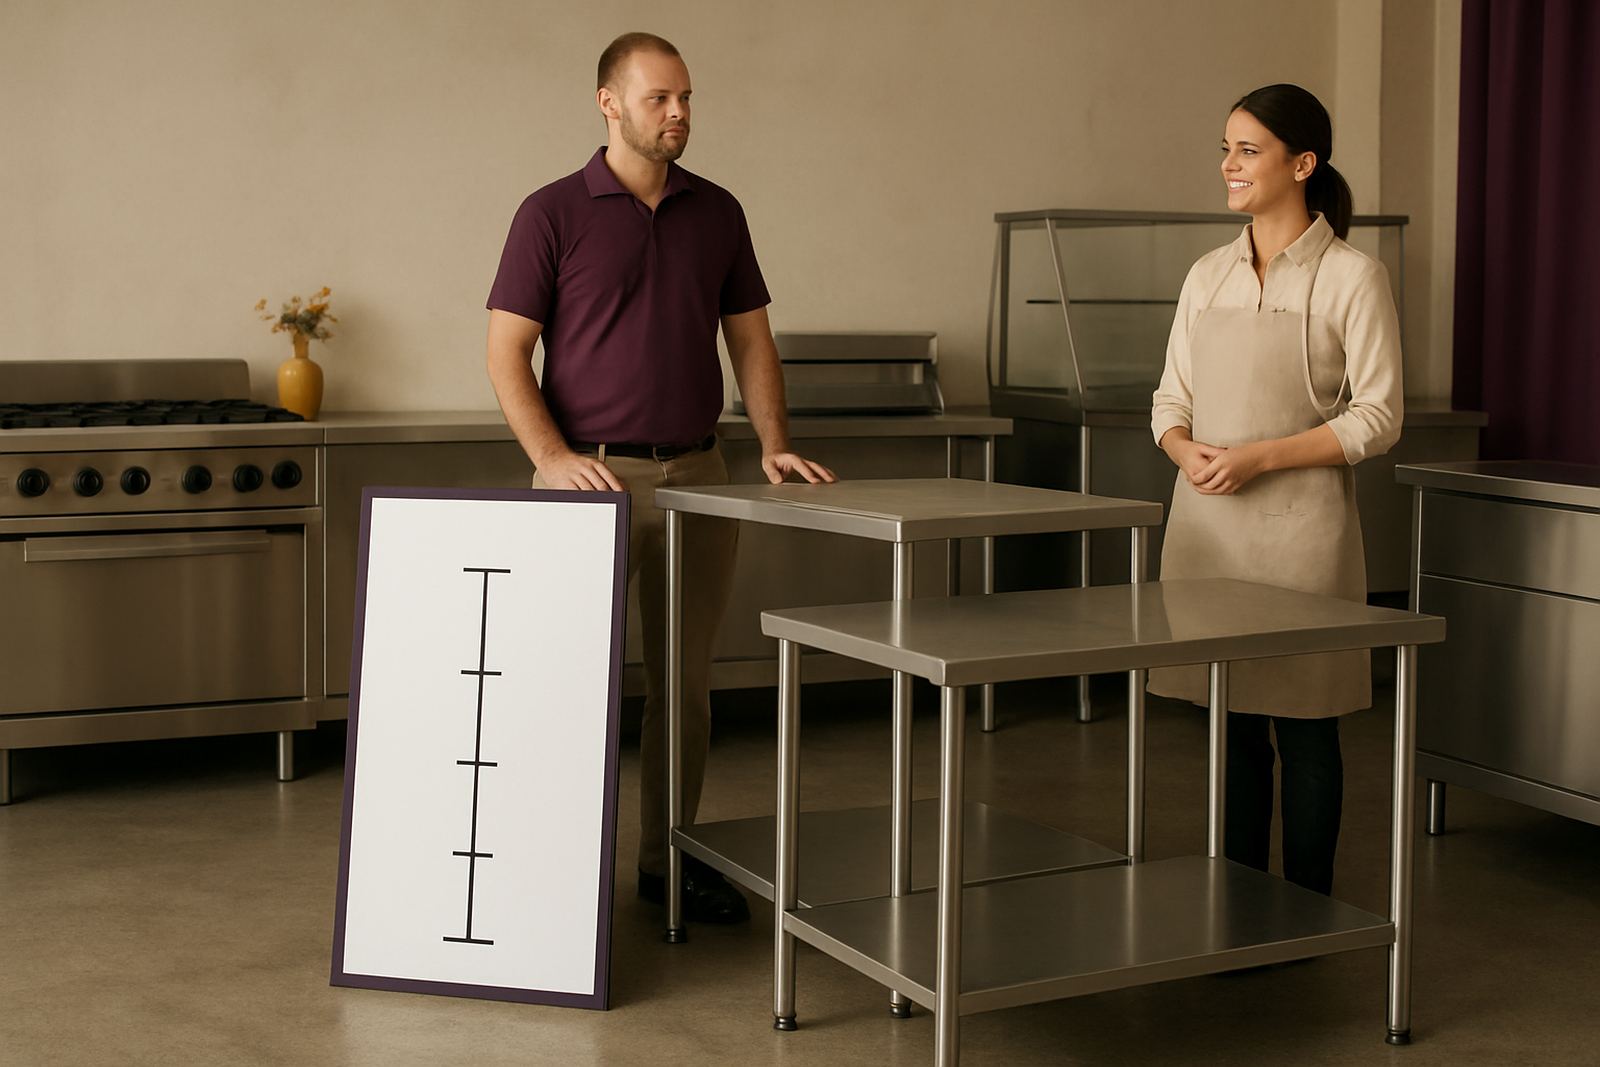
- Measure the available wall length, height to shelves and space for taps.
- Check if the sink must align with a prep table or servery counter.
Bowl Depth And Bowl Size That Actually Works
Bowl depth affects comfort, splash control and how much water sits in the sink at once. Shallow bowls can be fine for hand wash stations, but for washing trays and larger pots, a deeper bowl helps stop overspill onto the floor. In busy kitchens a depth in the range of 250 mm to 300 mm is often practical, while lighter use units may sit a bit shallower depending on the layout.
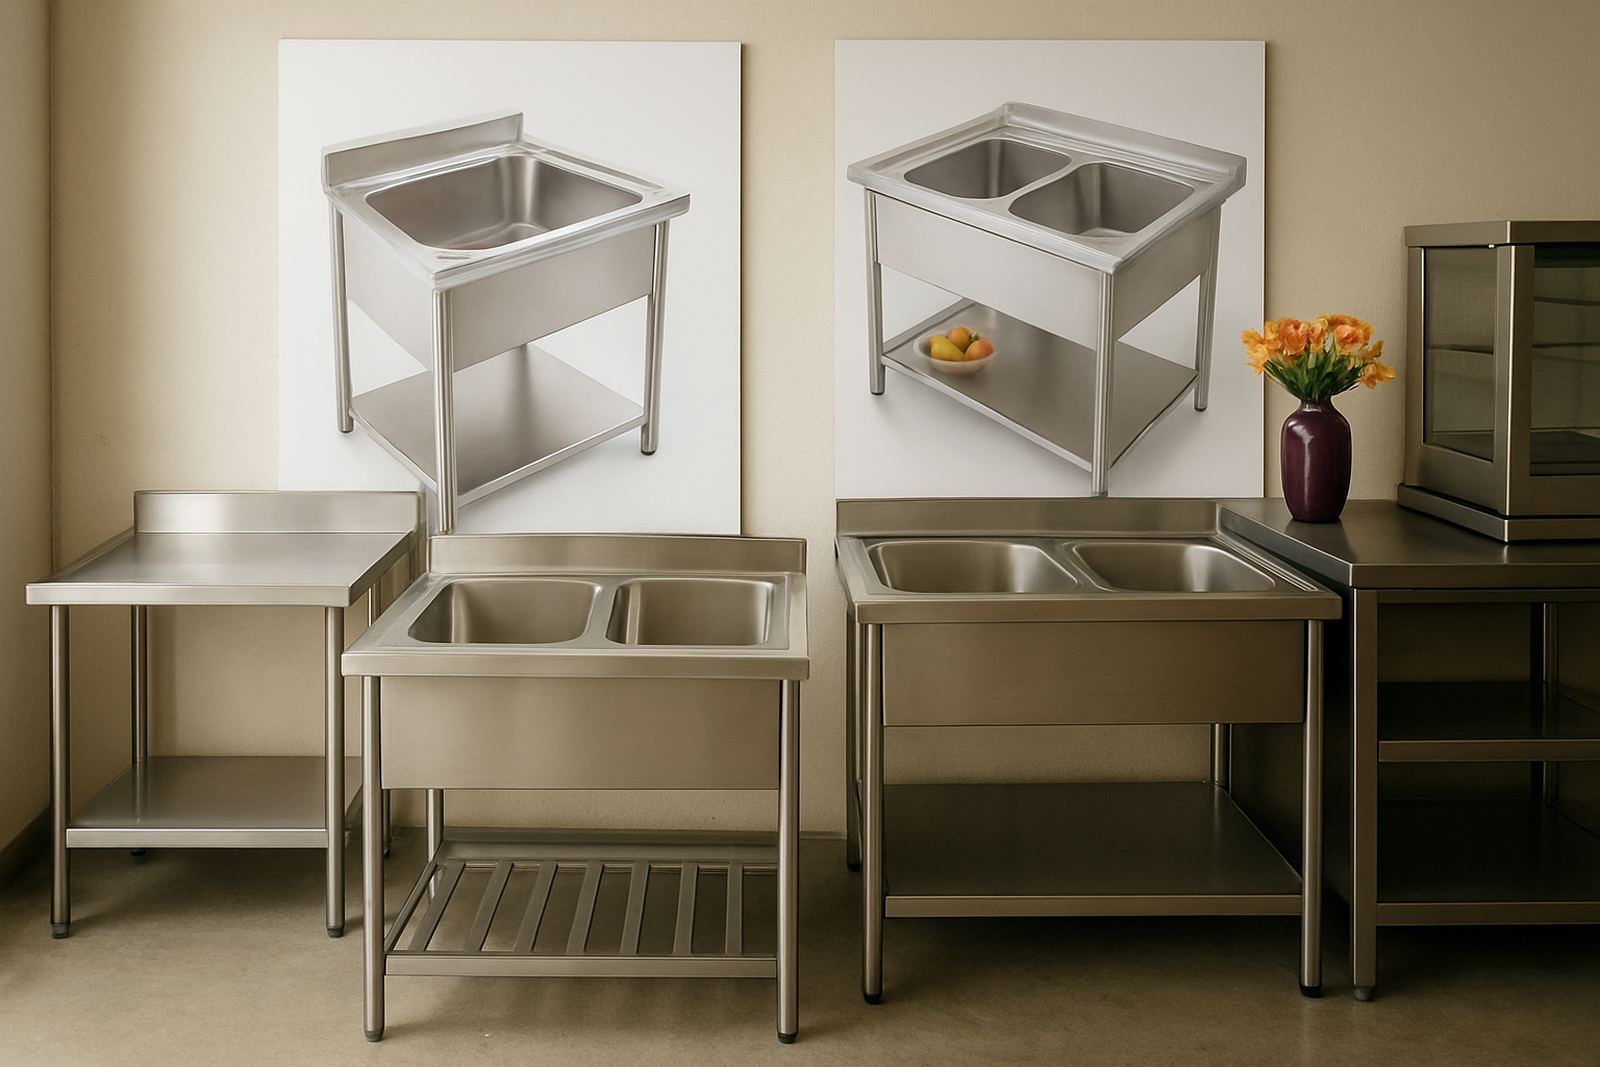
Width also matters. A single bowl may save space, but a double bowl helps with rinse and wash separation. For example, one bowl can hold wash water while the other handles rinse or soaking. If you prepare food near the sink, a smaller bowl can leave more clean stainless surface around it. That makes wiping down quicker and keeps the work area tidy, especially when staff are moving fast.
Do not forget the underside clearances. Pipe runs, waste traps and cupboard framing can reduce usable space below the bowl. If the unit has to sit on adjustable feet or be fixed to a wall, allow for that during the site measure or the installation day will drag on longer than needed.
Drainer Options For Prep Flow And Drying Space
A drainer is not just a nice extra. It gives you a place to stack washed items and keeps water away from the main work surface. On a prep sink, a short drainer may be enough for one or two containers. On a busy kitchen line, a full-length drainer makes more sense because it gives staff room to sort, drip dry and move items without crowding the bowl.
For takeaway kitchens, choose a drainer size that matches the peak workflow. If your team washes trays during the lunch rush and packs stock in the same area, the drainer should not block movement. It should drain back into the bowl with a slight fall, not sit flat and leave water pooling. In humid coastal conditions this matters even more because standing water keeps the area damp and harder to clean.
- Short drainer: suitable for hand wash, veg prep or light rinse tasks.
- Long drainer: better for dish wash, tray drying and faster turnover.
- Left or right drainer: choose to suit the room flow and nearby equipment.
- No drainer: useful where space is tight and the sink sits beside another prep surface.
Splashback Height And Wall Protection
Splashbacks are there to protect walls from water, grease and food splash, not only to look neat. A low splashback may be fine for a front hand wash unit, but for prep and wash areas you need enough height to stop water striking paint or plasterboard. In most kitchens a splashback of around 150 mm to 300 mm gives better day to day protection, though the final height must suit the sink depth and tap position.
If the sink sits against a finished wall, think about what is behind the wall surface. Plain painted walls can stain quickly, and once moisture gets in, repairs become more work than they should be. Stainless cladding behind the sink is often a practical choice because it wipes down easily and stands up better to steam, washing and the occasional knock from a pot or bucket. A neat fit also helps when the municipality inspects food areas for general hygiene.
Where the sink is installed under a serving window or near a counter opening, the splashback should still cover the wet zone. Measure from the wall to the tap body and from the tap to the top edge, because one wrong measurement can leave a strip of wall exposed right where the water lands.
Plumbing, Drainage And Site Measurement Checks
Good sink sizing is not only about stainless steel. You also need the plumbing to match the unit so the install goes in without extra cutting and rework. Before manufacture, check the waste position, water inlet points and whether there is enough slope on the drain line. A sink unit that is too close to a wall outlet or floor drain can cause headaches later, especially in older buildings around Germiston and Boksburg where previous alterations may not line up cleanly.
When our team does site measuring, we look at floor levels, wall straightness and the available clearance for mixers, pre rinse points and trap access. A unit can look simple on paper, yet a few millimetres off on site can affect fit, stability and cleaning access. If the sink will sit near a gas range or extractor canopy, keep enough space to avoid heat and steam building up around the wash zone.
- Confirm hot and cold water points before ordering.
- Check where the waste and trap will sit below the bowl.
- Measure wall length, floor level and corner clearances.
- Note any nearby shelves, racks or counter returns.
- Allow space for cleaning around the base and under the unit.
Use This Quick Checklist Before You Order
Use this checklist to avoid a sink unit that is too small, too deep or awkward to use. It is easier to adjust the spec now than to remake a unit after install. For kitchens serving Benoni, Springs or Kempton Park clients, we usually suggest checking the full workflow from receiving to wash up, because the sink often sits in the middle of that flow and not at the edge.
- Is the sink for hand wash, prep, dish wash or all three?
- Will staff use trays, pots or only smaller food items?
- Do you need one bowl, two bowls or a rinse and wash setup?
- Is there enough drainer space for drying and sorting?
- Does the splashback reach high enough to protect the wall?
- Will the plumbing line up with the bowl and waste point?
- Is the base clear for cleaning, repairs and daily access?
If the answer to any of these is no, revise the spec before fabrication starts. A good sink unit should make the shift easier, not add extra wiping and splashing to the day. That is the standard we work to from our Benoni base across the East Rand and nationwide delivery.