
Start With the Dirty-to-Clean Line
The best wash-up area is planned as a straight process, not a collection of counters pushed together at the last minute. Dirty items should arrive at one point, get scraped and rinsed, pass through washing, then move to drying and clean storage without doubling back.
In a busy takeaway or restaurant, even a small mistake in flow causes staff to bump into each other. That is where plates get chipped, floors stay wet longer and the back end starts slowing down the front of house. Keep the path simple and you will notice the difference by lunch time.
For most kitchens, the working order should be: receiving dirty items, pre-rinse, wash, drain, dry, and store. If a space also handles pots and pans, give them their own landing point because heavy cookware and delicate crockery do not work well on the same table.
Put Sinks Where the Work Actually Happens
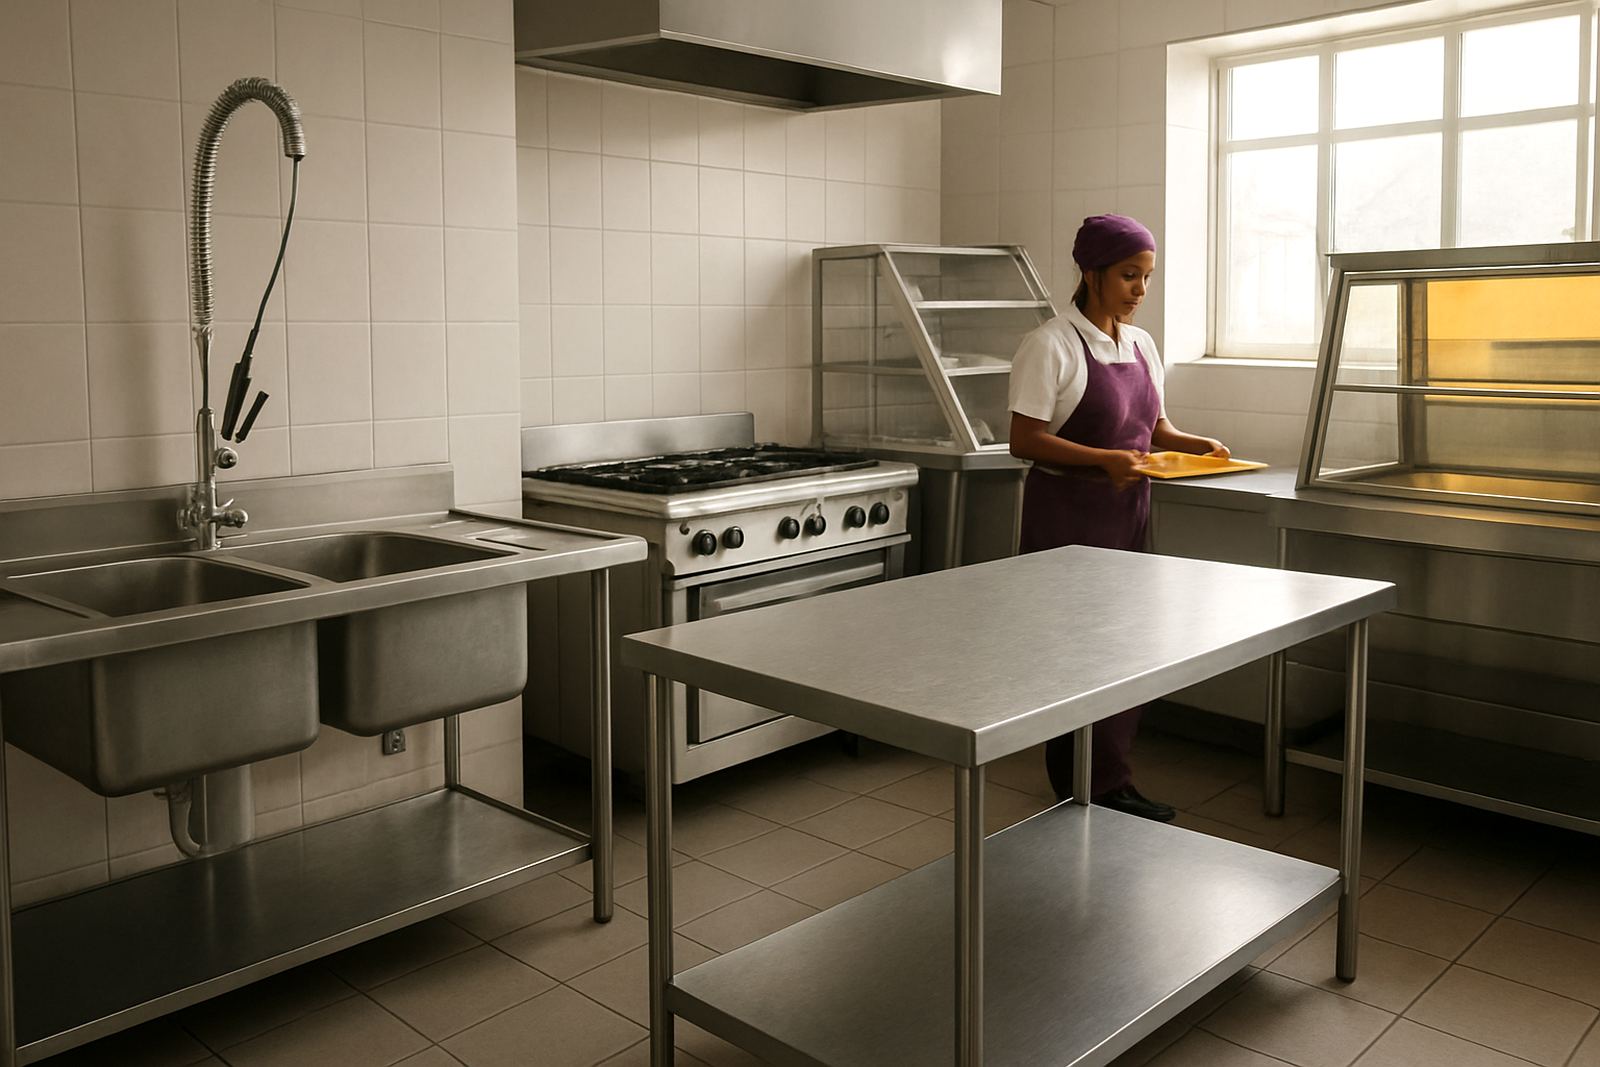
The sink position matters more than people think. A wash-up sink placed too far from the prep or service side means staff carry wet trays across the room, which is a slip risk and wastes steps. In a compact kitchen, the sink should sit close to the return point from service and near the clean-up table.
For operations in Benoni, Boksburg or Germiston, where many kitchens run with tight floor space, a proper layout often starts with a measured sink run and then builds the rest around it. That is also where site measuring helps, because a wall that looks square on paper can be out by 20 mm or more in the real room.
- Allow enough space for two people to work without knocking elbows.
- Leave a clear splash zone so walls and nearby equipment do not get soaked.
- Keep bins close enough for scraping but not in the main walking line.
- Plan drainage points before the tables are fixed in place.
Use Landing Tables to Break the Process Into Steps
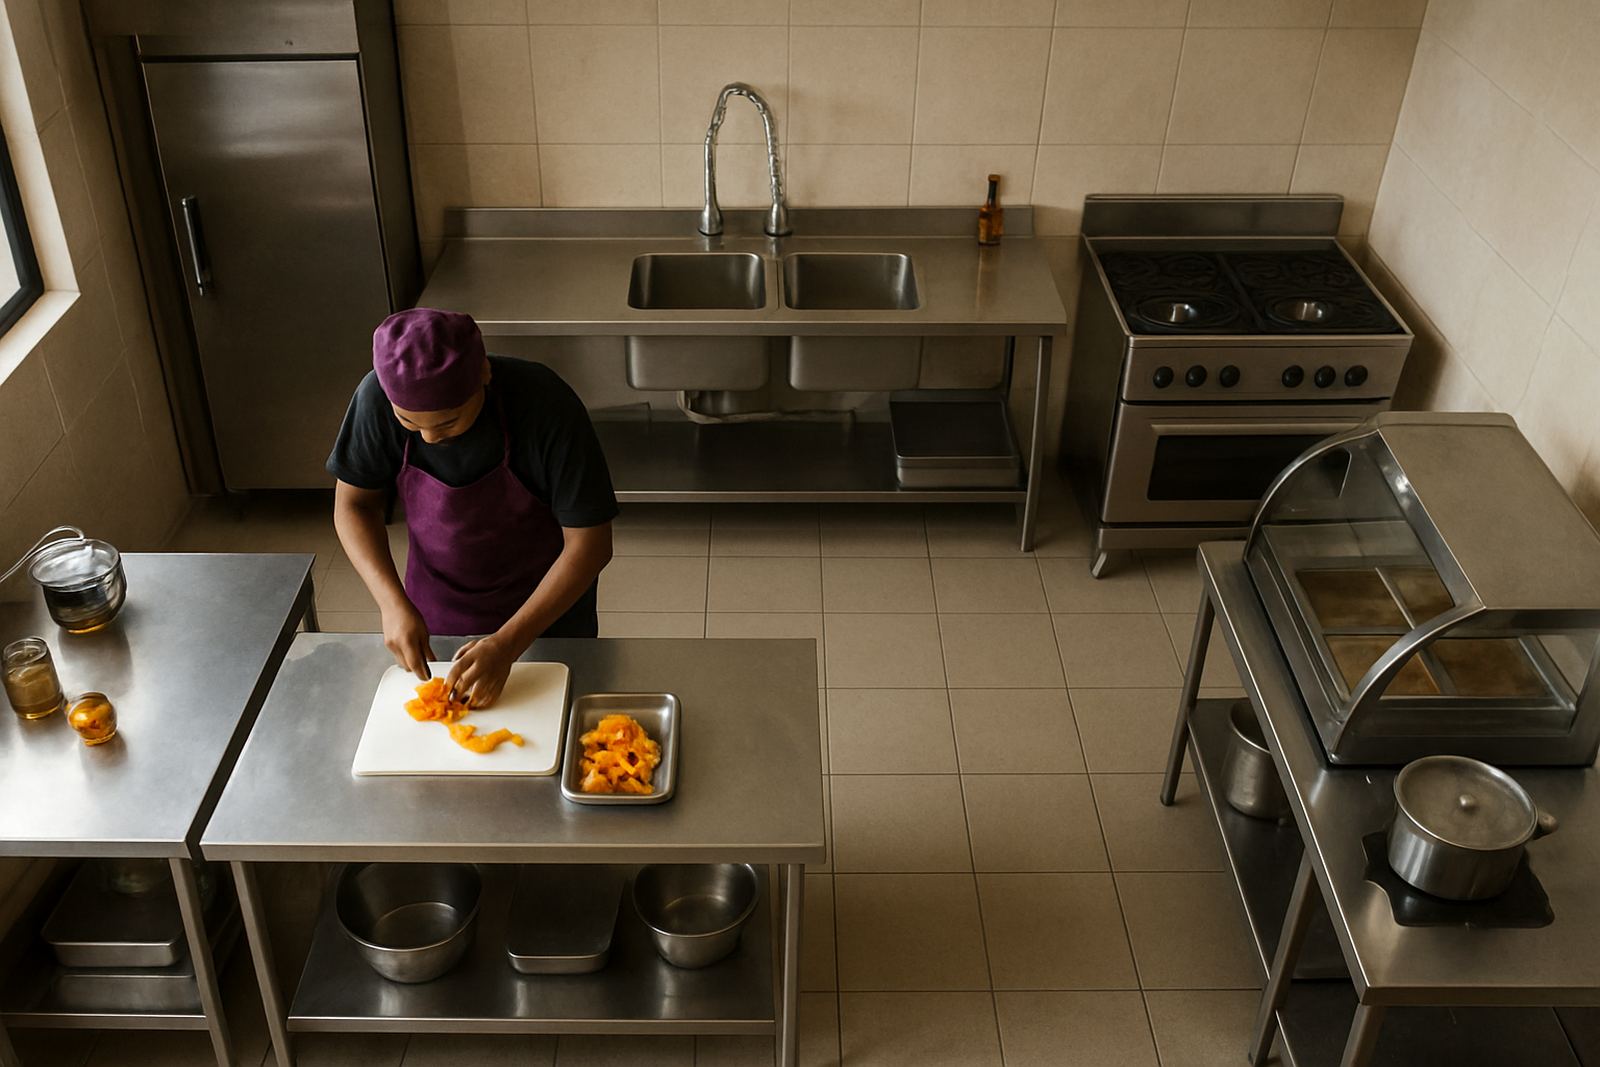
Landing tables are the pause points in a wash-up zone. One table receives dirty items, another gives you space to sort, and a final table supports air drying or stacking clean stock. Without those points, staff pile everything into one area and the job becomes untidy very quickly.
Stainless tables work well here because they handle moisture, cleaning chemicals and daily use better than lighter materials. In coastal or humid conditions they also hold up better if they are cleaned and dried properly after use. The surface should be easy to wipe down and the height should suit the team doing the work, not just the available wall space.
For larger operations, separate tables for crockery and pots are worth the extra space. Heavy pans need a stronger landing point, while cups and plates need a cleaner drying zone away from splash and steam.
Keep Racks, Drying and Storage in the Right Order
Wet items should never be forced into storage before they are ready. That sounds obvious, but in a rushed kitchen it happens often, especially when the wash-up area is tucked into a corner and the storage shelf is too close to the sink. A better arrangement gives the wet side its own racks, then a dry side for finished stock.
Wall racks, standing racks and shelving all have a place if they are placed in the correct sequence. First comes the dirty return point, then the wash and drip area, then the drying rack, and only after that the clean storage shelf. If you skip the order, water drips onto clean stock and staff have to rework the same items.
- Use open racking where airflow is needed.
- Keep clean trays and containers higher than the splash line.
- Place heavy items on lower shelves to reduce strain.
- Do not block access to the sink with storage bins or spare stock.
Allow for Load-Shedding and Power-Free Operation
In South Africa, a wash-up zone has to keep working when the power cuts out. If your setup relies too heavily on powered equipment, the area can stall during load-shedding and create a backlog of dirty items. Planning should favour basic movement, manual washing and simple drying methods that still function when the lights go off.
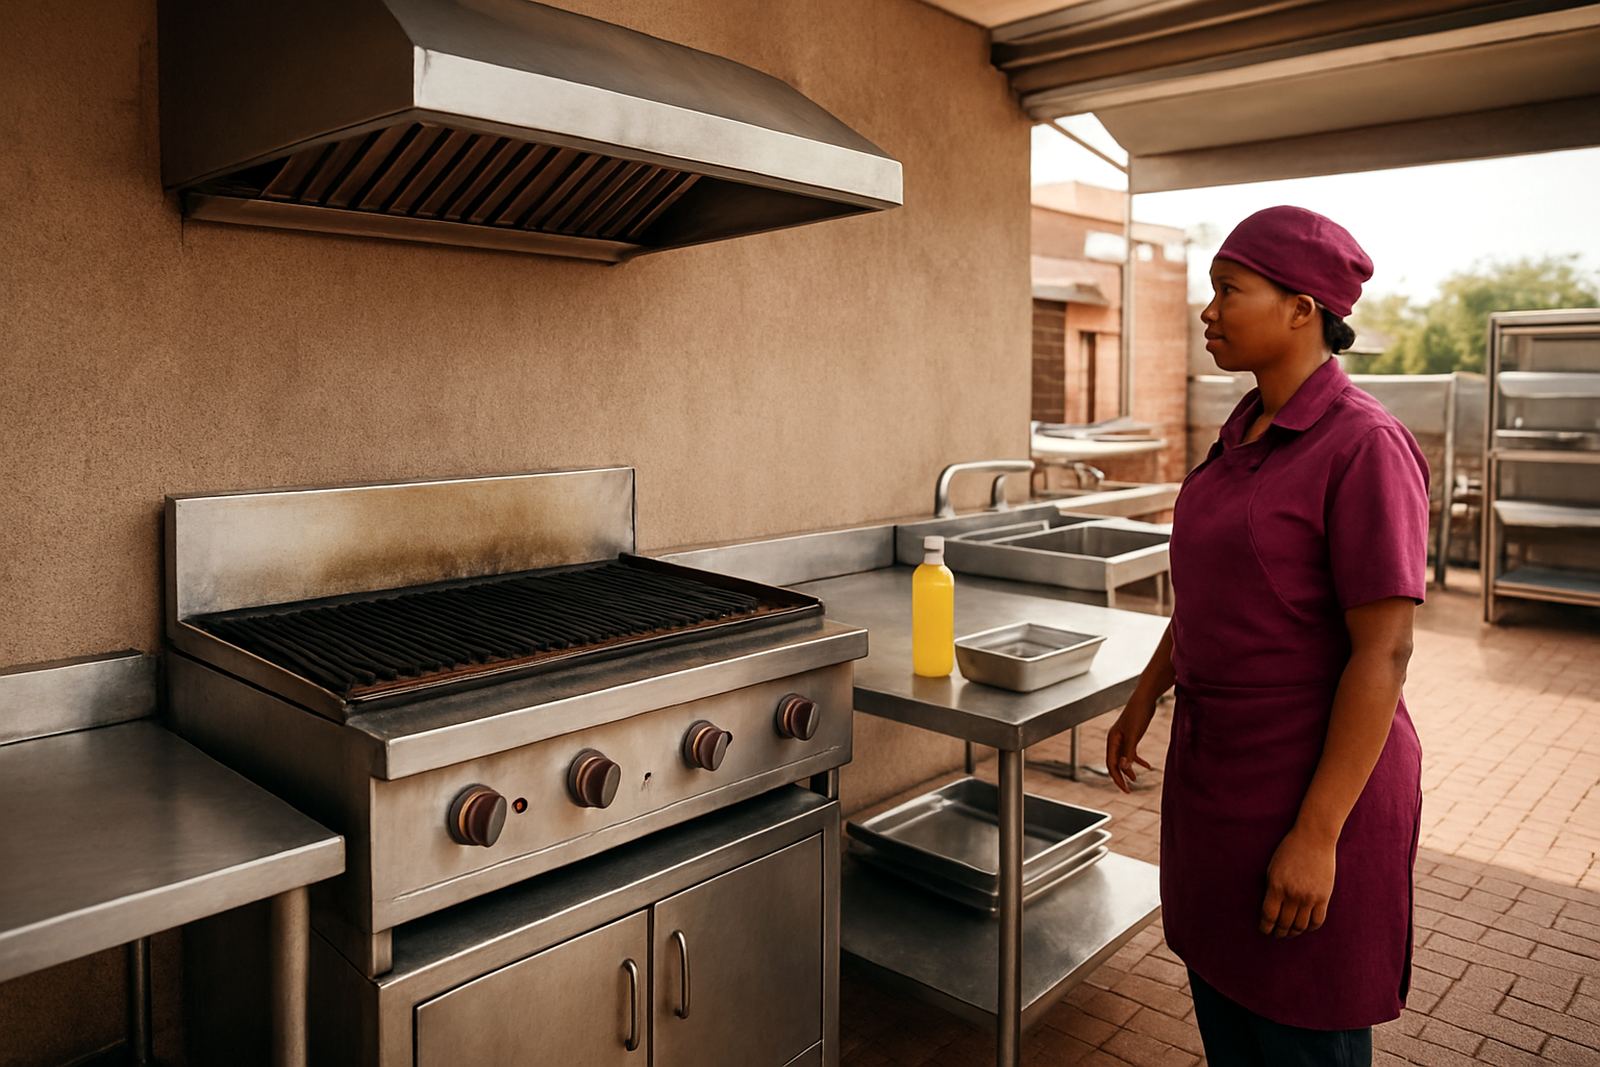
That means good drainage, clear floor falls where needed, and equipment that does not depend on constant electrical input just to keep the line moving. If you have a gas kitchen and a wash-up zone nearby, keep enough separation so heat and steam do not make the working area uncomfortable. Staff should still be able to clean safely when the building is running on backup power or none at all.
Municipal compliance also matters. Drainage must be sensible, walls near wet areas should be easy to clean, and the layout must not create stagnant water near walkways or doors.
A Benoni Takeaway Example That Works
In a Benoni takeaway with a narrow back room, the smartest layout is often a side-by-side line rather than a deep U-shape. One end receives the dirty returns from service, the centre section holds the sink and wash area, and the far end carries the clean racks and landing table. This keeps movement one way and makes supervision easier for the manager on shift.
When the counters are custom made, the room can be fitted around doors, service hatches and awkward wall lengths instead of forcing the team to work around bad angles. A local site visit helps with exact measurements, especially where walls have been altered over time or pipes stick out further than expected. That is the kind of detail that saves a lot of rework later.
For busy East Rand operations, the goal is not to make the wash-up zone fancy. The goal is to make it faster, safer and easier to keep clean at 6 am after a delivery run or at 9 pm after a full supper rush.
What to Check Before You Build
Before any stainless work is made, the team should check the room layout against the daily workload. A wash-up zone for a small café is different from one handling trays, stock pots and dozens of plates at peak time. If the design is too small, staff will work around it every day and the problem never goes away.
A proper planning check should include the number of staff using the area, the size of the sinks, the location of the floor drain, the dry storage point and the route back to the kitchen or service hatch. Once those points are measured, the rest of the equipment can be built to fit the actual space rather than a guess.
- Check the path from service counter to sink and back.
- Measure for doors, corners and pipe positions before fabrication.
- Leave enough space for cleaning under and behind the tables.
- Keep clean stock away from steam and splash.