
Why stainless still shows rust marks in busy kitchens
Many kitchen owners expect stainless steel to stay spotless, then notice brown specks, tea staining or light rust marks after only a few months. In practice, stainless is resistant to corrosion, not immune to it. Once the protective layer is damaged by scratching, metal contact, or trapped dirt, small marks can show up fast especially in warm kitchens with steam, grease and regular wash-downs.
On the East Rand, we see this often in takeaways near busy roads and in prep rooms where salt, vinegar, bleach and food acids are used every day. A prep table can look fine at installation, then start showing marks around welded joints, under sink lips or where wet cloths are left sitting overnight.
Common causes of staining on prep tables and counters
Most staining starts with routine handling rather than a major fault. The issue is usually a mix of moisture, contaminants and poor cleaning habits. If the same cloth is used for floors, bins and prep surfaces, that alone can spread grime and fine iron particles onto the steel.
- Steel wool, abrasive pads or sandpaper that scratch the surface
- Bleach left on the surface or used too strong for daily cleaning
- Salt, acidic food spills and sauce drips left to dry
- Iron dust from grinding, drilling or nearby fabrication work
- Water that sits on the top edge, welds or folded corners
- Cheap fixings, hinges or shelves that shed rust onto the steel
In some kitchens the marks are not actually rust from the stainless itself, but transfer from other metal parts. A loose bolt, a mild steel trolley frame or even a mop bucket with rusty fittings can leave orange streaks on the steel surface.
What to do during daily cleaning
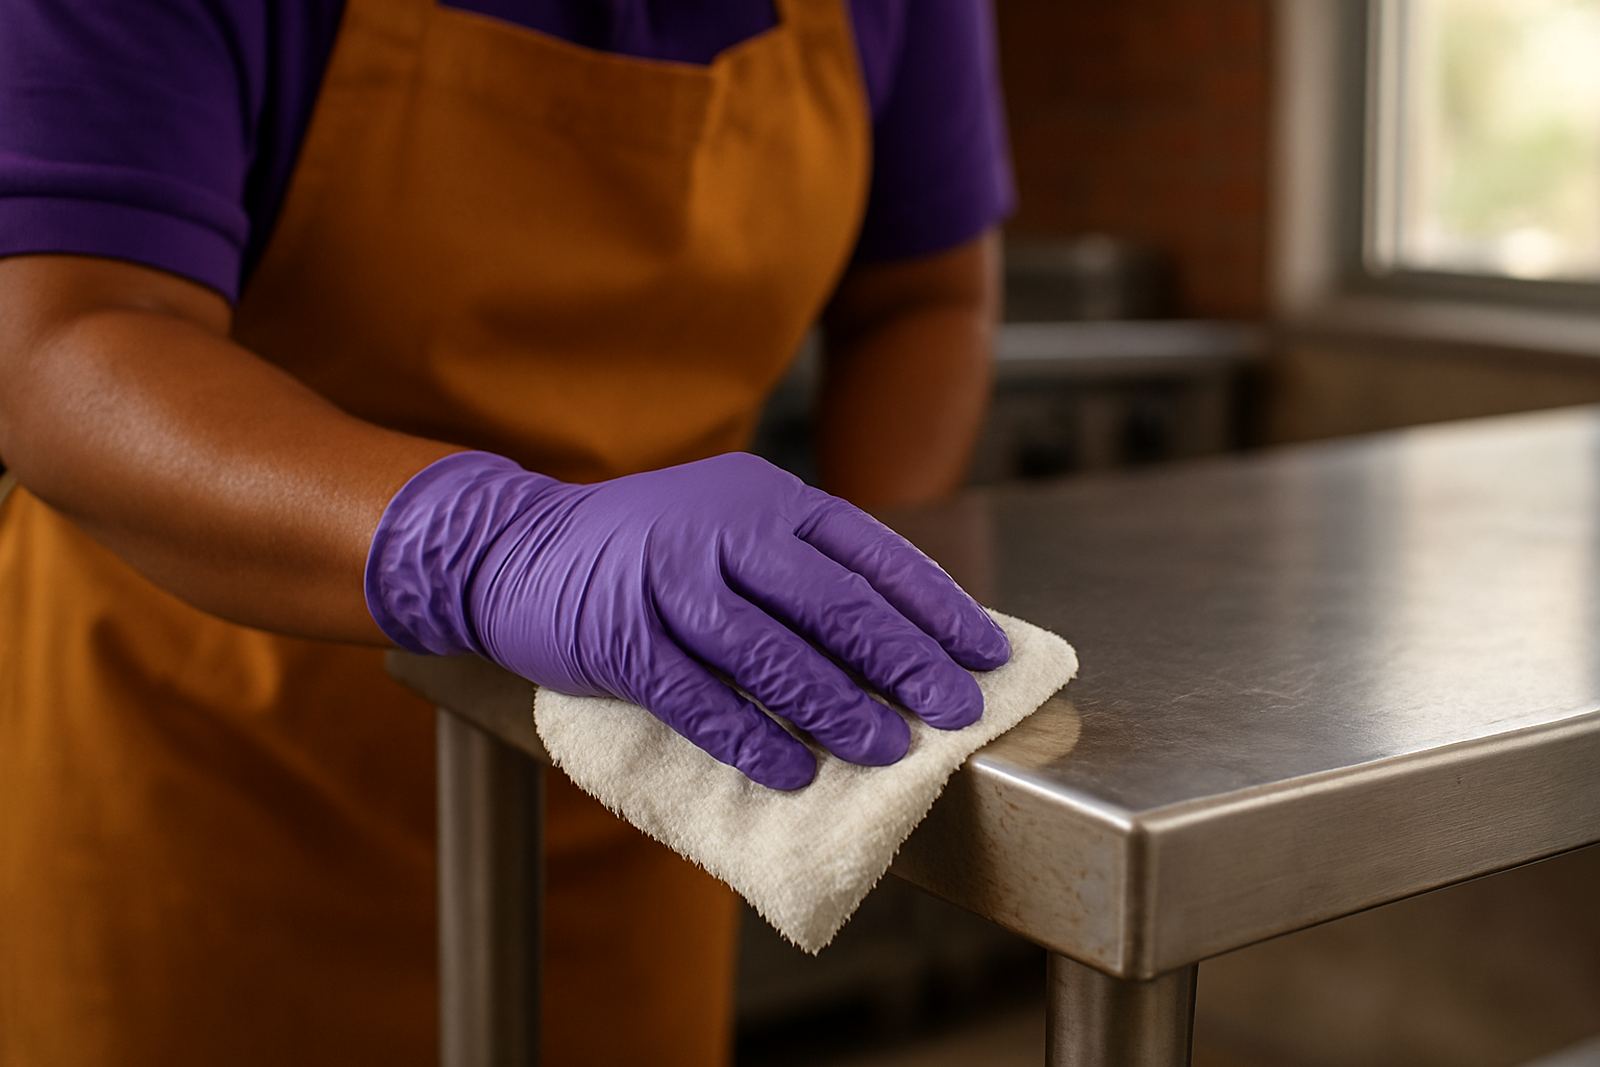
Daily cleaning needs to be steady and gentle. The aim is to remove grease and food residue without stripping the surface or leaving chemical film behind. Use warm water, a mild detergent and a soft microfibre cloth. Wipe with the grain of the steel, then dry properly instead of air drying. That last step matters more than many people think.
If a surface has visible marks, test a small area first before cleaning the full top. Never use the same cloth for the toilet area and the kitchen, thats a common mistake in smaller operations and it spreads dirt quickly. If you run early mornings and evening service, assign one cloth set for prep areas only and replace them often.
- Rinse off salt, sauces and acidic spills as soon as possible
- Dry around sinks, taps and splashbacks after each shift
- Use soft cloths, not steel wool or gritty scourers
- Keep chlorine and degreaser use controlled, not heavy handed
- Store cleaning chemicals away from exposed steel
How fabrication details help reduce marking
The way equipment is made has a big effect on how it performs in a real kitchen. Smooth welds, properly finished corners and sealed joints help stop grime from sitting where cloths cannot reach. For example, a prep table with neat bracing underneath is easier to wipe down than one with rough edges and open pockets that hold water.
At CaterKraft in Benoni, we see the same thing across projects for Boksburg, Brakpan and Germiston clients. A stainless counter that is measured properly and fitted with the right edge return will hold up better in daily use than a unit forced into a tight space after the fact. Site measuring also helps prevent gaps where water can pool and where dirty splashback can collect.
- Rounded internal corners are easier to clean than sharp traps
- Raised upstands help stop spill marks on walls
- Good weld finishing reduces grime lines
- Proper leg bracing limits wobble and joint wear
- Matching fixings and hardware lower the chance of rust transfer
Local example from a Benoni takeaway kitchen
A small takeaway in Benoni came to us after their prep table kept showing orange marks close to the sink side. The owner thought the steel was failing, but the real issue was a mix of bleach, wet cloth storage and a rusty trolley parked against the counter at close range. Once the trolley was removed, the cleaning routine changed and the sink splash area was dried each night, the marks reduced quickly.
That kind of problem is common in places that run hard through load shedding and then rush service when power returns. When generators, gas equipment and hot pans all come back into use, the kitchen gets wetter and busier at once. If cleaning is left until the end of the week, small marks become stubborn ones.
When to repair, rework or replace a marked surface
Light staining can usually be cleaned, but deep pitting, heavy scratches or badly welded sections may need repair or replacement. If the steel has been ground too hard, or if a surface has been exposed to repeated chlorine damage, the finish can become hard to recover. In those cases it is better to assess the top, the frame and the fittings together rather than patch one part and hope for the best.
Our team handles custom prep tables, stainless sinks, servery counters, extractor canopies, shelving and counter modifications for kitchens across the East Rand and beyond. If a unit needs site measuring, re-cladding or a new display base, the aim is to solve the cause of the staining not just cover the mark. That saves time, money and a lot of rework.
A simple prevention checklist for everyday kitchens
Good stainless care is mostly about habits. Keep the surface dry, keep the cleaning mild and keep other metals away from it. When a kitchen follows those basics, the steel stays presentable for longer and the prep area is easier to manage during busy service.
- Wipe down after every shift, not only at week end
- Check for rusty bolts, trolley frames and shelf brackets
- Dry sink edges, taps and splash zones properly
- Use the correct cloths and replace worn ones
- Book a proper inspection if marks keep returning
For kitchens in Benoni, Boksburg, Springs, Kempton Park and Germiston, the biggest gains usually come from small changes done consistently. That is often enough to stop the repeat staining that makes a prep area look older than it is.